This month, I successfully sprouted tomatoes and peppers in as little as 4 days by utilizing my electric oven light to speed up germination!
I discovered that the oven stays between 78-80F IF I have the oven light on, and it stays 70-72 with the oven light off.

I knew that peppers and tomatoes needed warm ideal conditions to encourage seeds to sprout so I took that knowledge and looked how to make an ideal scenario for them to sprout.
(look on the back of seed packages to see what each seed prefers.)
I had just fed my sourdough starter and put it in the oven as I always do, with the light on – I use it as a way to proof loaves and help speed up yeast action. The idea hit me then that I could put my seedlings in the oven to “proof”, much like I do my sourdough loaves. I got brave, and put my idea to the test. I’m so amazed and shocked by the success that I now think this will very well be the way I start tomatoes and peppers – and I may even wait a bit longer to start them next year as I nearly knocked off 2 weeks of waiting for them to sprout.
Seed Starting in the Oven:
In an electric oven, turn on light 💡 and monitor temperature and moisture of seedlings.
💦 Make sure soil stays moist but NOT sopping wet.
🚿 If moistures feels thick within the oven, allow the door to stay open so air can circulate.
💡 Using a thermometer, make sure Your oven isn’t TOO hot for seeds.
⚠️ Read the back of your package of seeds to make sure you are starting them in their preferred temperate AS SOON AS YOU SEE SPROUTS, PUT THEM UNDER THE GROW LIGHT, or WINDOW SILL – They now need to make food through sunlight.


Seed Organizer: https://amzn.to/3GuRHaX
Seed Trays: https://amzn.to/3Cc1iAZ
Seed Starting Cells: https://amzn.to/3dIUT4Y
LED Lights 6500K (Not Grow Lights, but usable): https://amzn.to/3dCvNEK
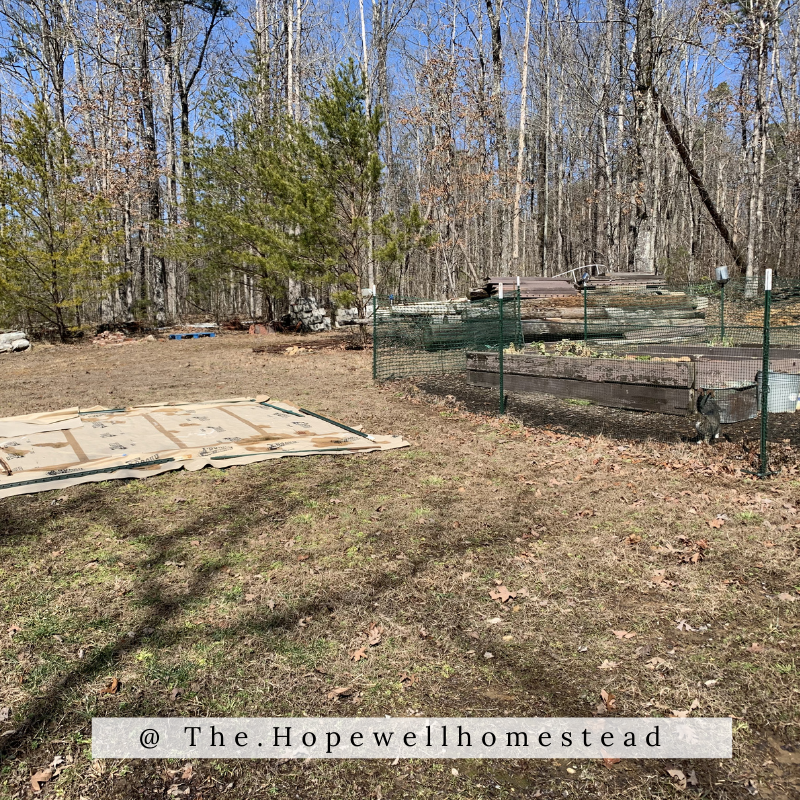

The cardboard has proven to do a great job at blocking out sunlight and weakening weeds underneath. It will be removed when it’s time to put soil on top.
We will add wood chips to the top of the cardboard as time and money allows.
Tips on Sourcing Cardboard:
📦 Ask friends, family and neighbors to save cardboard for you.
♻️ Ask a local recycling center if you can have boxes – tell them what you are using it for!
🪴 Search Facebook marketplace, ask appliance businesses or big box stores if you can have their cardboard. Many are willing to let you have their cardboard.
(UPDATE 2022: I failed to mention this but The cardboard does do a great job as a biodegradable barrier and weakening weeds from popping up especially when heavily mulched with wood chips on top. It’s best used to kill grass/weeds around borders and edges and can remain in place there but I no longer recommend it as an underdress in a garden as cardboard has been found to contain forever chemicals. For flowers or something you grow but don’t consume, that’s not a huge worry. In a veg bed? I’m more cautious.)
The garden beds in the main garden will be made of recycled western cedar we had left over from making the original garden beds which cost us no money. The cedar is left over from an old construction job in a town nearby. We were able to save them from being disposed of and they live on in our garden.

Are you wanting to begin a garden where you are but aren’t entirely sure how to go about it?
Check out this podcast episode with my friend Claudia – https://anchor.fm/homecentric/episodes/10–Gardening-For-All—Encouragement-from-Claudia–The-Organized-Homemaker-ep72bh